


Easter Egg Skewers
Make your own great Easter decoration!
Easter is just around the corner again. It’s about time, too: after all, we want to decorate for Easter, search for Easter eggs and spend quality time with the family! So that your house is decorated beautifully and on time, we’ll show you how to craft Easter egg skewers here. These little Easter eggs on wooden skewers will get every houseplant ready for Easter in a jiffy.
Step-by-step instruction
Instructions from Moni, Steffi & Sebastian
You need that
- Decorative Easter Eggs Craft Kit or plastic eggs
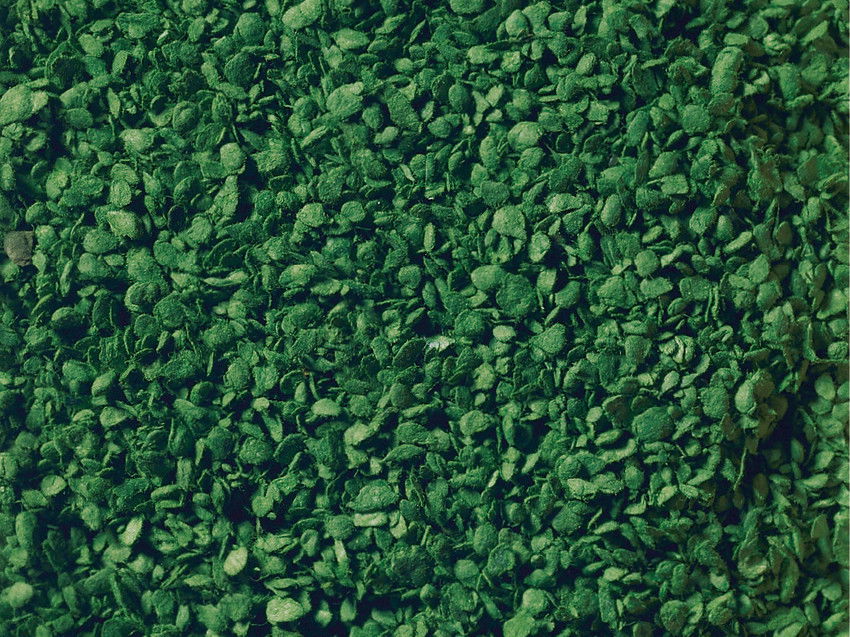
- Grass Fibres (e.g. "Summer Meadow")
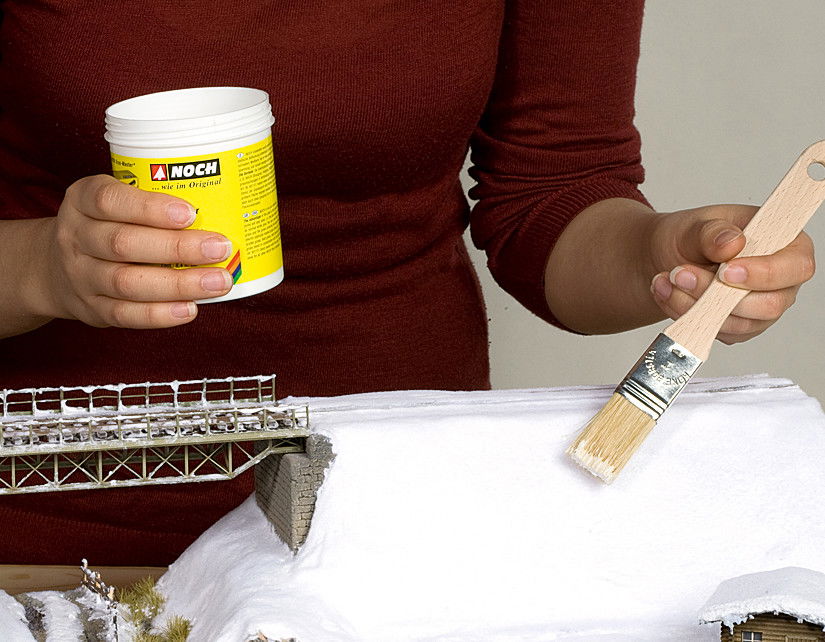
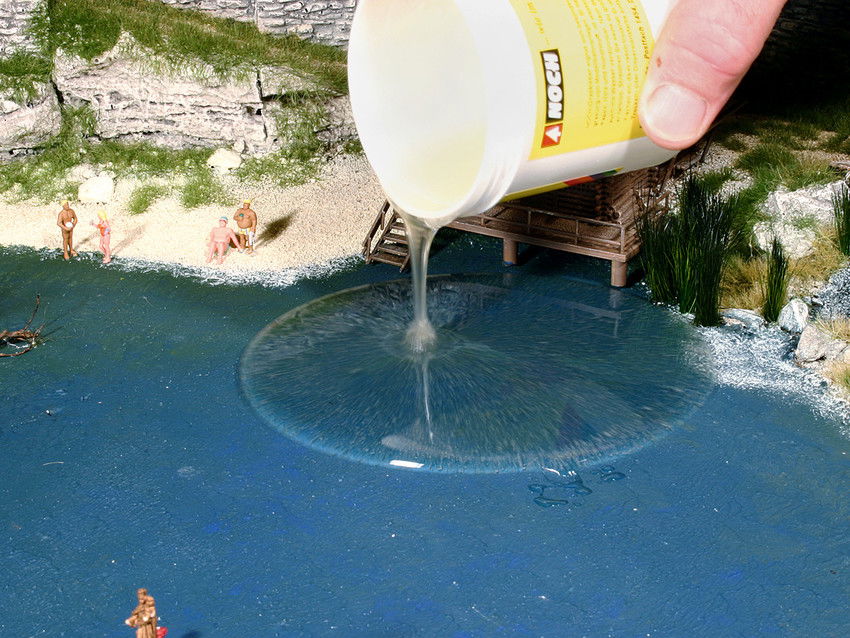
- Grass Glue
- Puffer Bottle and a shoe box
- Wooden kebab skewers
- Bows
- Scissors
- Glue gun
- White Acrylic Paint
- Paintbrush


Dyeing
Easter eggs? That’s what Grandma did! Painting? Maybe Mum! Today, the Easter
egg is going to be covered with grass! It looks fab and is guaranteed to be the
absolute eyecatcher of your Easter decorations! The model building grass fibres
that NOCH kreativ has in its range are ideal for this. There’s also a Starter
Set "Grass" and even a Decorative Easter Eggs Craft Kit! You may need
everything, but one thing at a time...
We start with the plastic eggs. First, stick them on a kebab skewer. You can
get these from your corner shop (it won’t hurt to buy a few chocolate eggs at
the same time!). With a glue gun, put a glue dot on the hole through which you
put the skewer. This is then affixed immediately. Then coat the Easter egg with
Grass Glue. The glue is super easy to spread and fantastic at adhering to the
plastic.


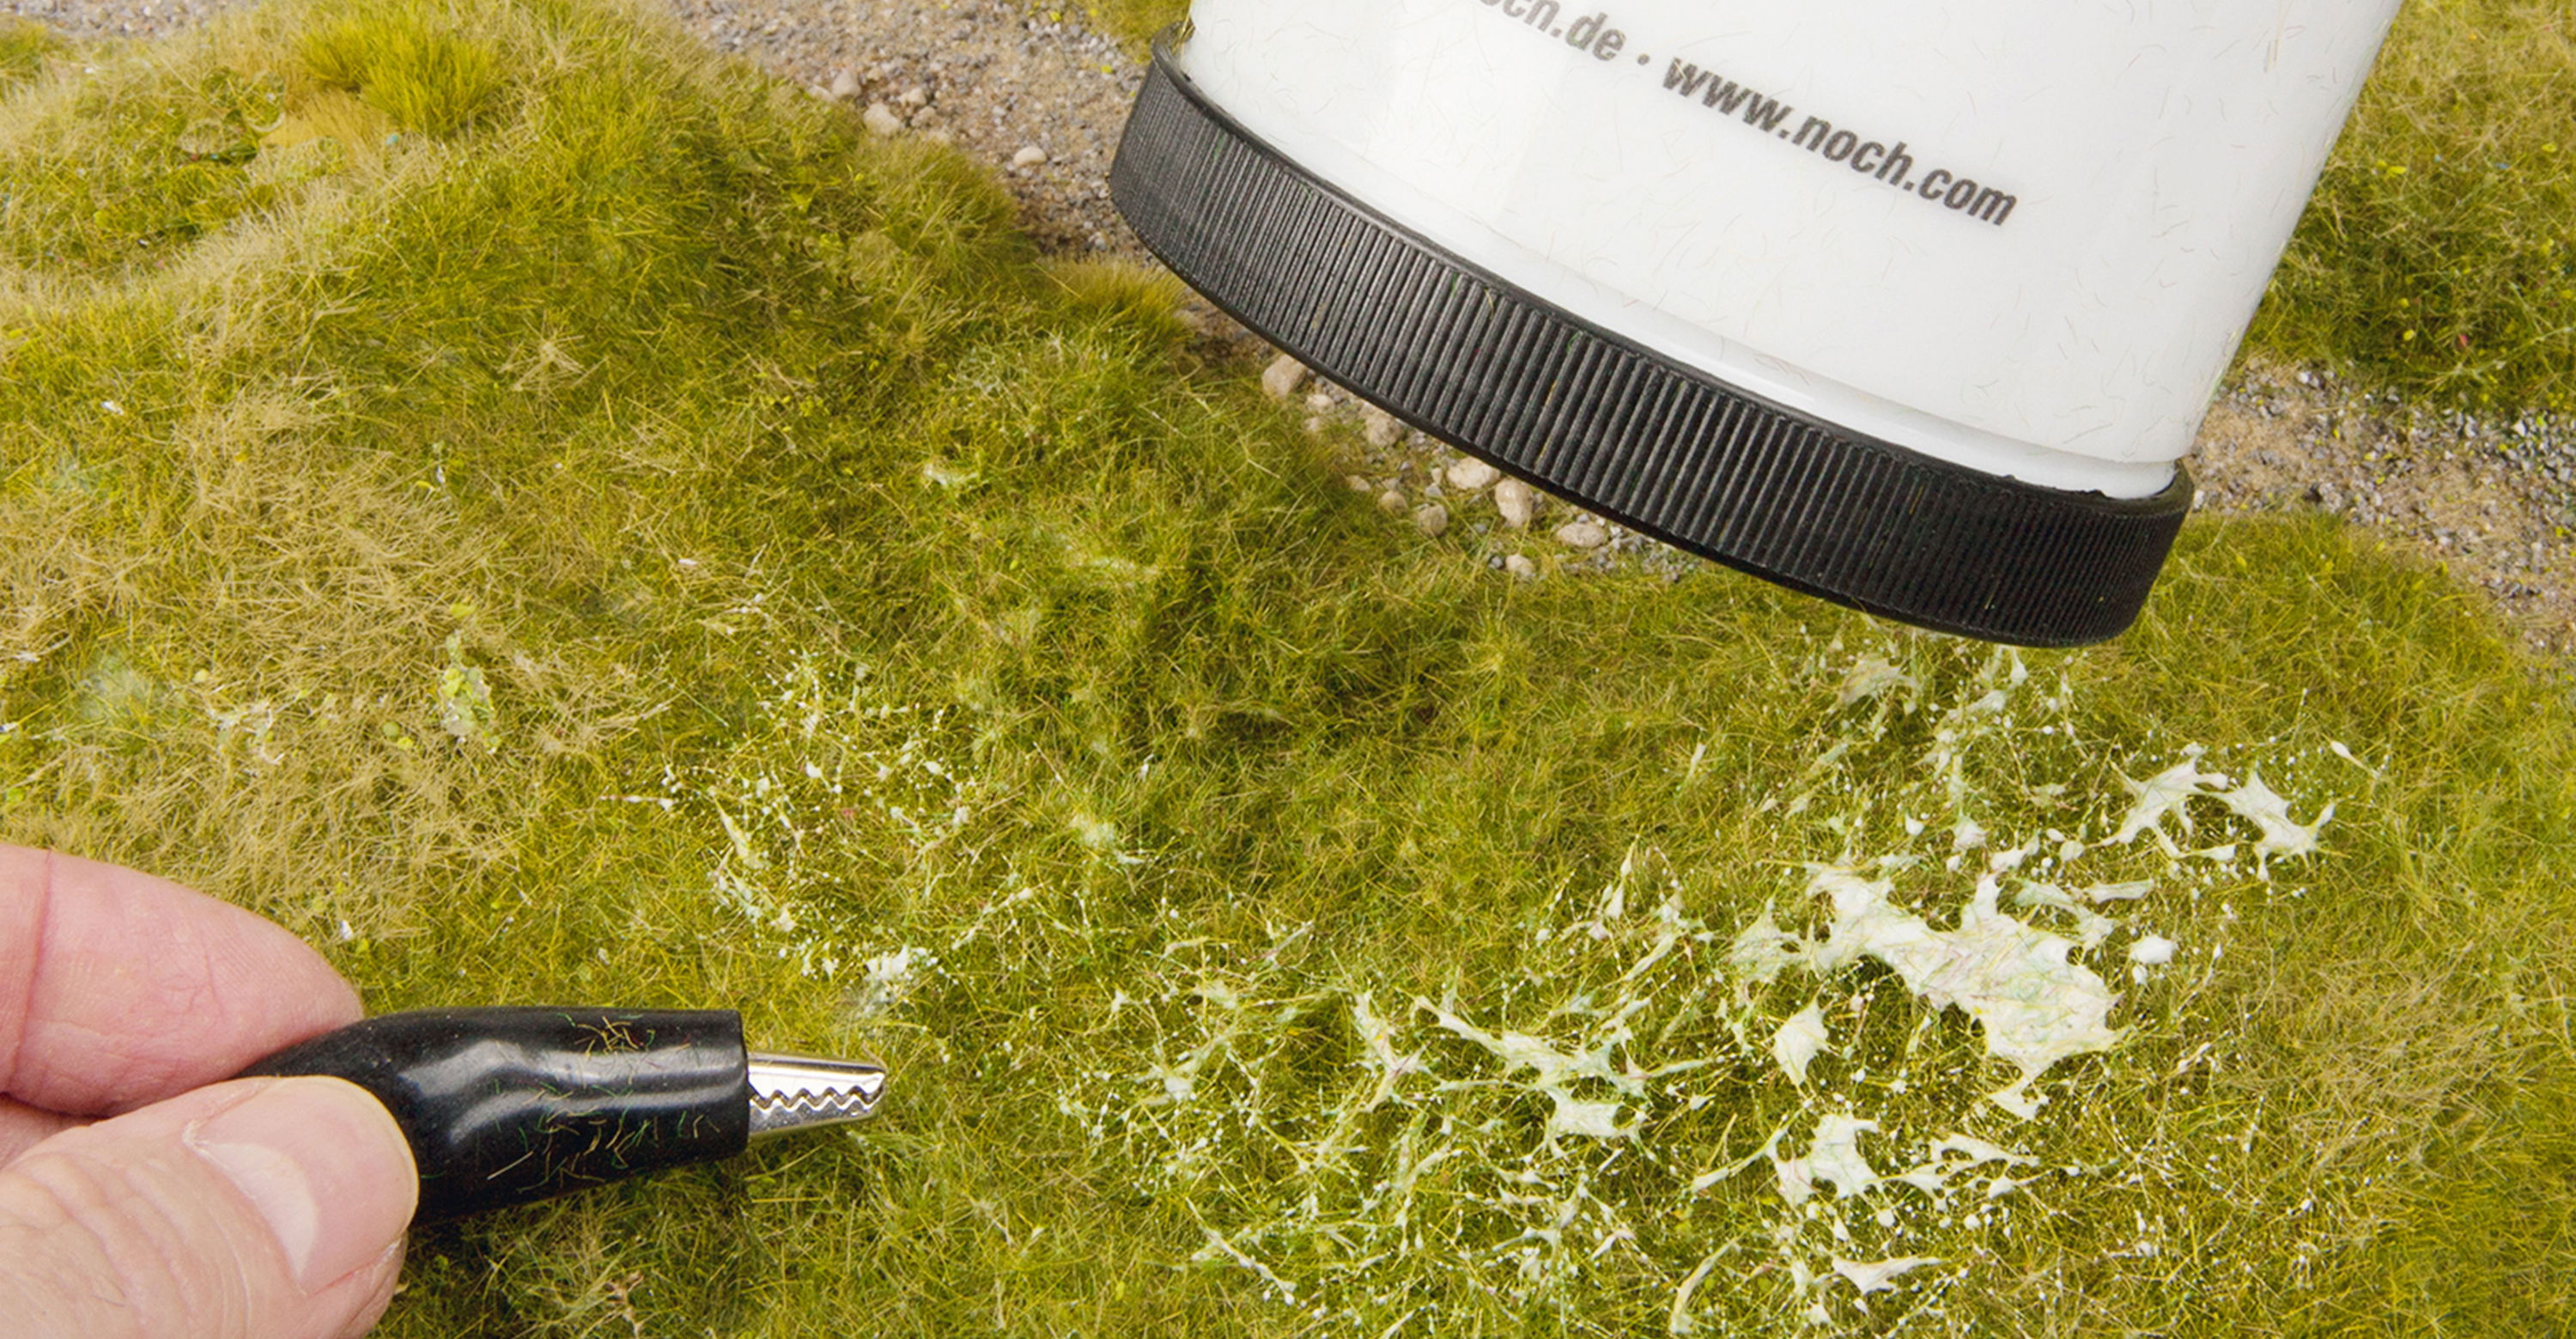
The grass fibres must now be poured into the Puffer Bottle. To do so, unscrew the red cap and remove the grey insert from the bottle. I used a sheet of paper to make a small funnel for filling the yellow Puffer Bottle, so that the grass passes through the opening more easily. Fill the bottle no more than halfway. Then put the grey insert in, put the cap on, and shake thoroughly for a few seconds! This electrostatically charges the little grass fibres. Unscrew the cap again and blow the grass fibres into the glue on the egg by squeezing the Puffer Bottle. The blades of grass stand up in the glue and stick out vertically from the egg! It looks super fluffy and like real grass. Tap the egg and repeat the process until it’s densely covered with grass. It’s best to put a box (e.g. a shoebox) under the egg so you can catch the grass fibres and reuse them. But the glue must dry for a while first. If you now put your finger in the grass, you would flatten the grass fibres and the great fluffy effect would be gone. So, be patient! It’s best to put the eggs on the skewers in a glass where they won’t be lying down and can dry in peace, preferably overnight.


After your Easter eggs have dried, you can tie a bow around the neck of the stick underneath the egg. Anything you like goes. I chose red, blue, and yellow. In spring you can never have enough bright colours around you. You can secure the bow with a drop of hot glue so it no longer slips off. However, I found the wooden skewer a bit too boring and spiced it up with White Acrylic Paint. You can either apply it to completely cover it or ‘wipe it on’ with a bristle brush that is too big to give the stick a shabby chic look.
Your crafted results

Best wished and happy Easter!
Moni, Steffi & Sebastian


More creative inspiration
Explore similar Crafting-Tips


Your Easter decoration is now ready for use: simply insert the egg skewers in a flowerpot and thus beautify your home! If you'd like even more ideas for grassy Easter eggs, take a look at the tip on how to craft an Easter tree. Have fun recreating this.