On the pens, ready, go!
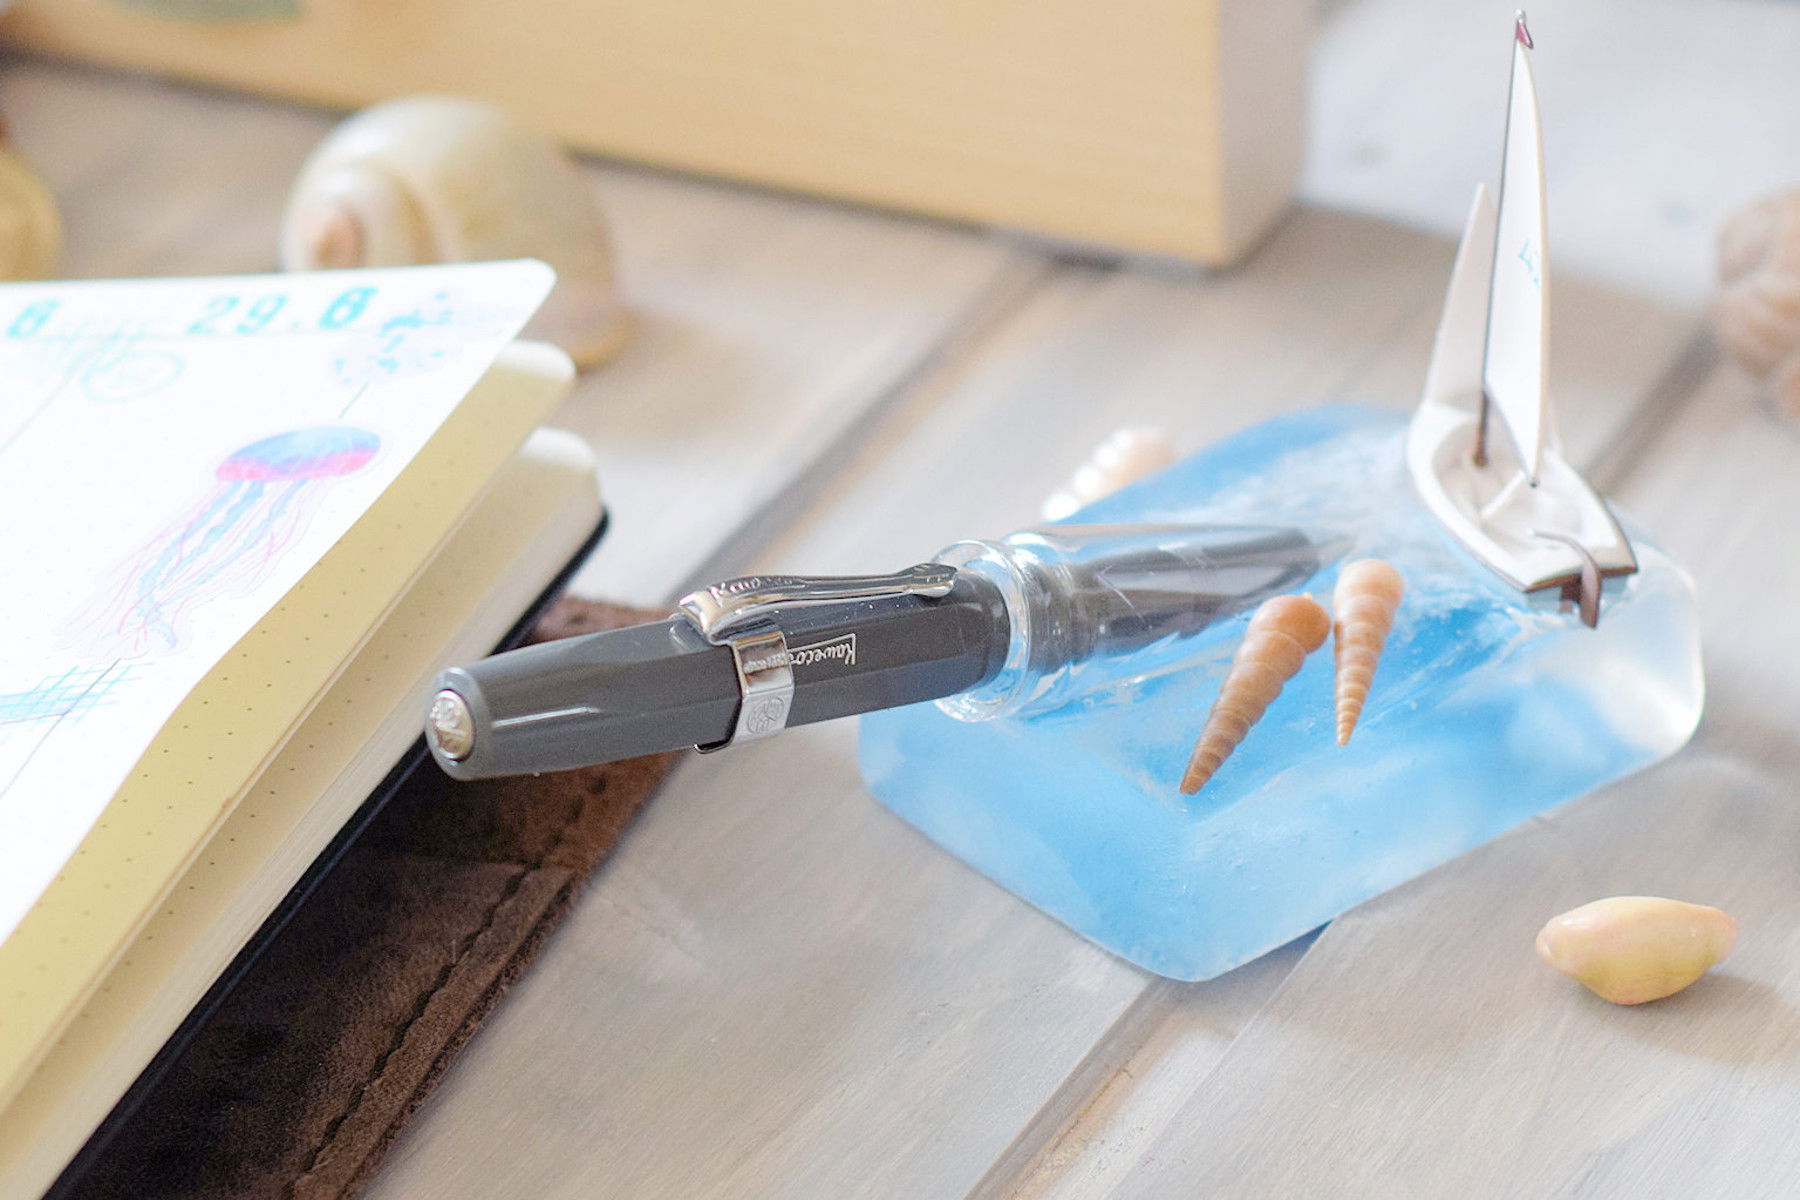
Are you also constantly looking for your favourite pen? We'll be happy to help you out. Anke from dailydreamery.de shows you how to make a nautical pen holder for your favourite pencil. It is not only functional but also a very special piece of jewellery on your desk!
Step-by-step instruction
Instructions from Anke from dailydreamery.de
Medium
30 min.
You need that
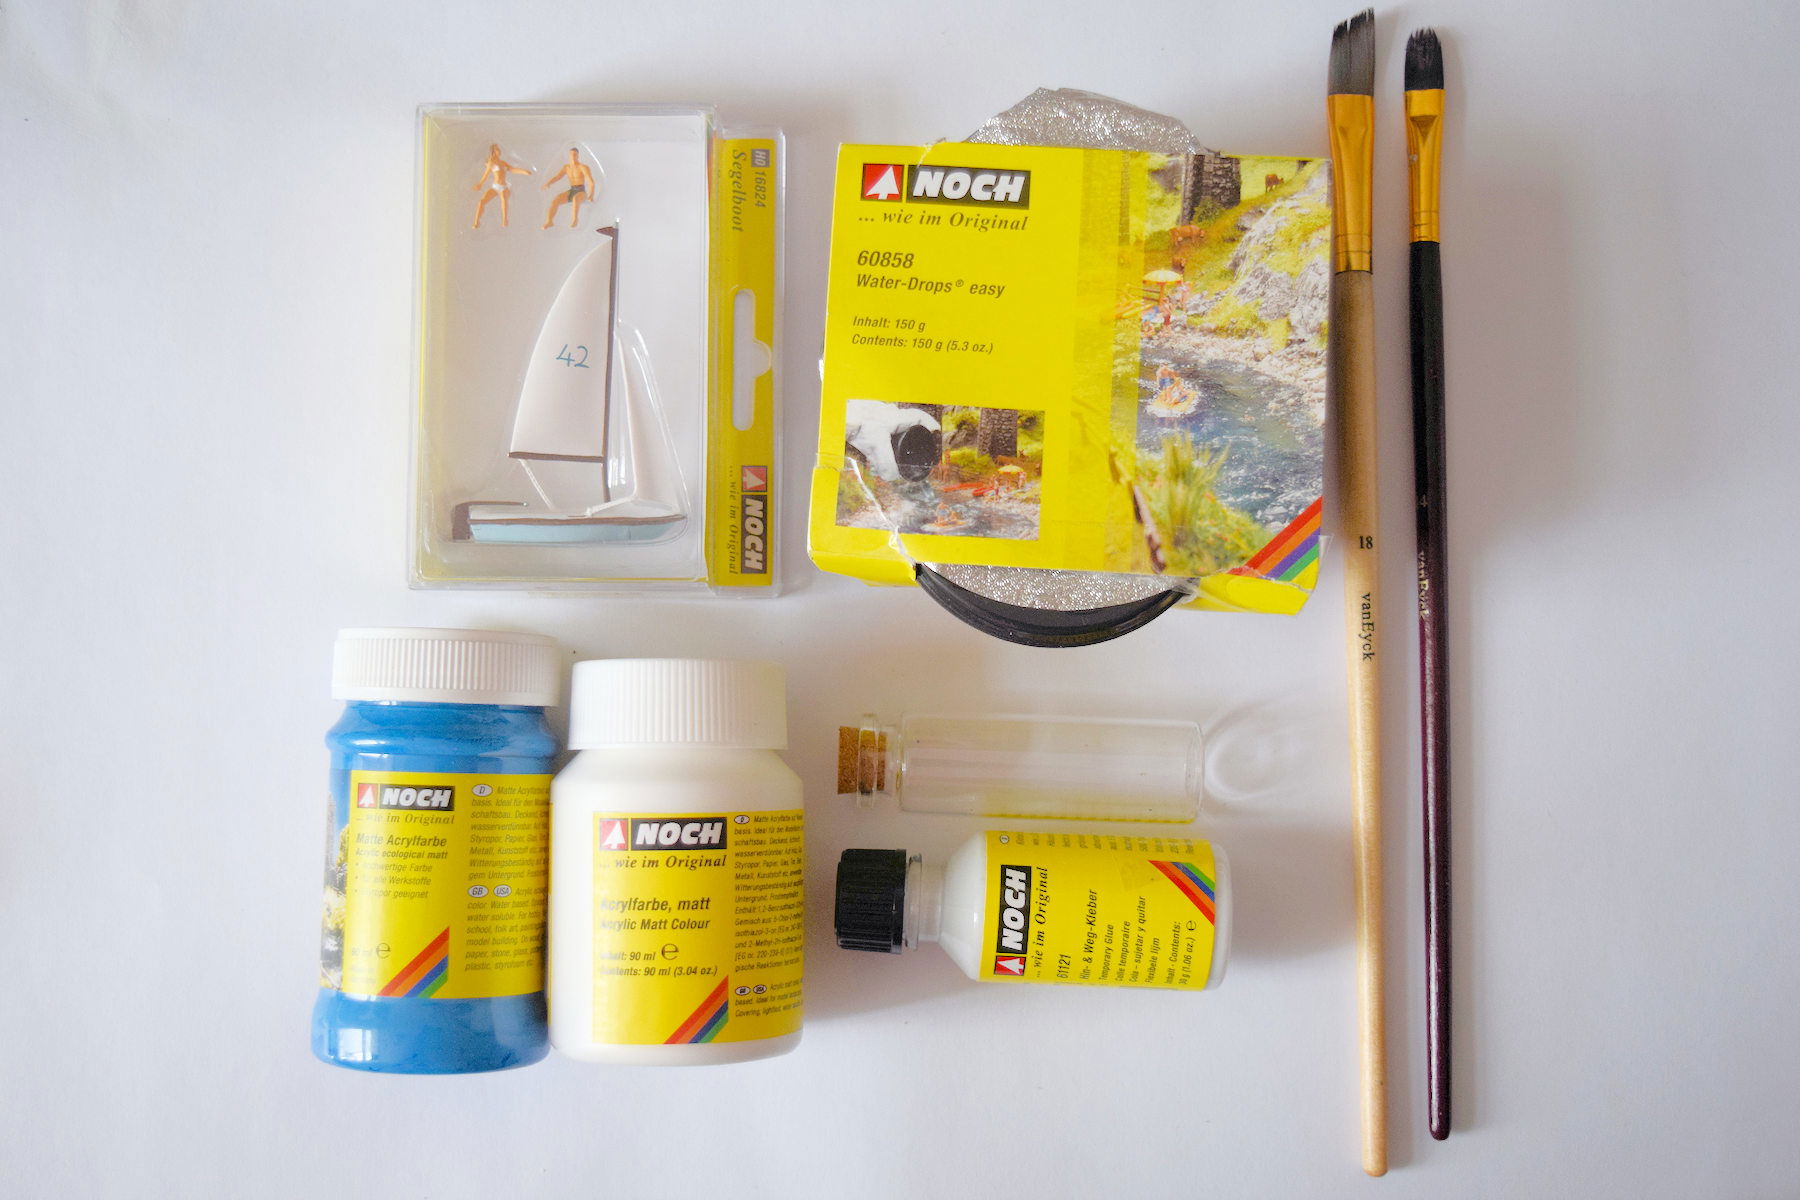
Rectangular silicone mouldSmall glass bottle (suitable for the pen)
Water-Drops® "easy
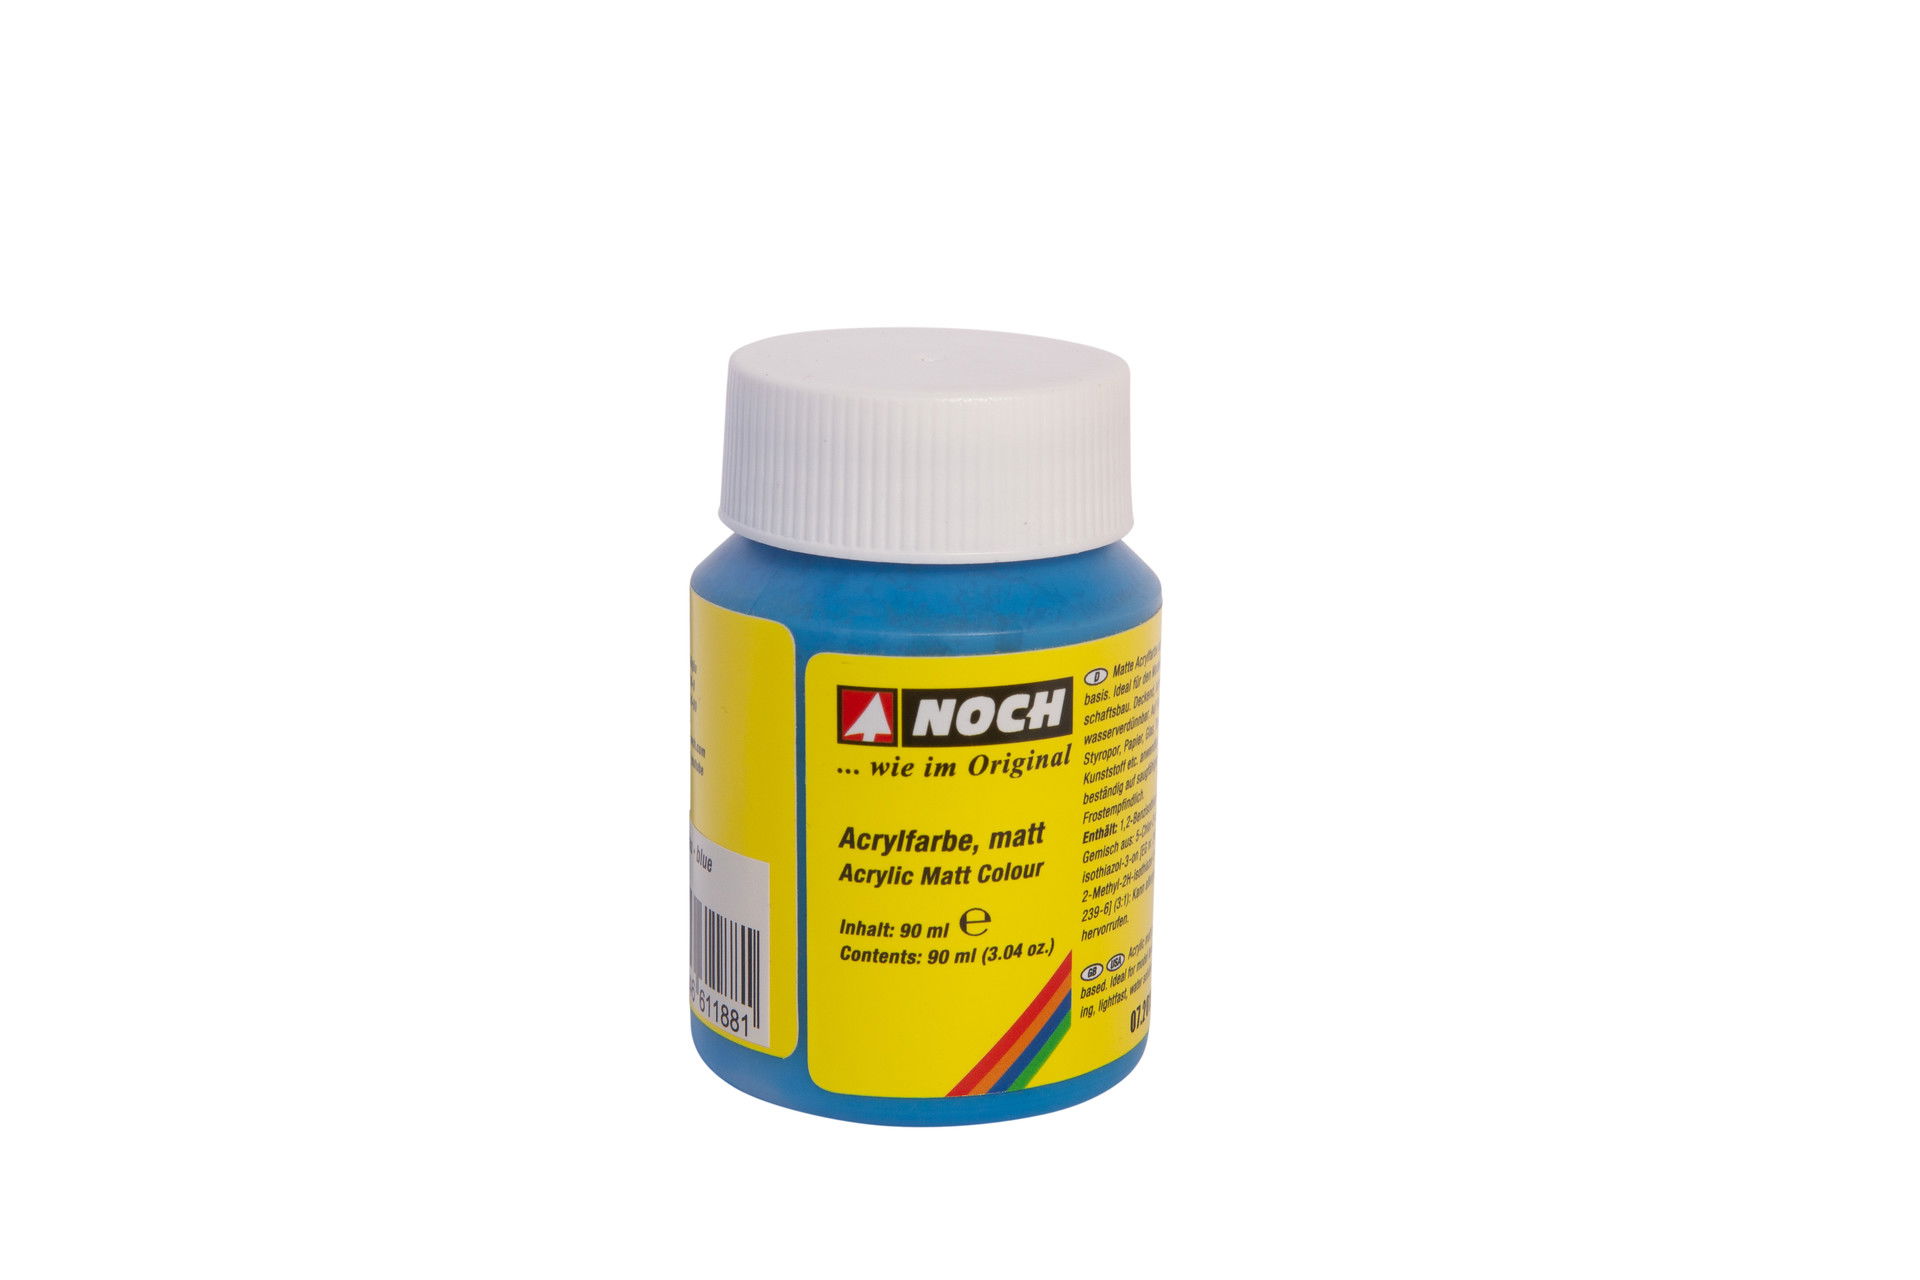
Acrylic colours blue and white
Brush
Shells
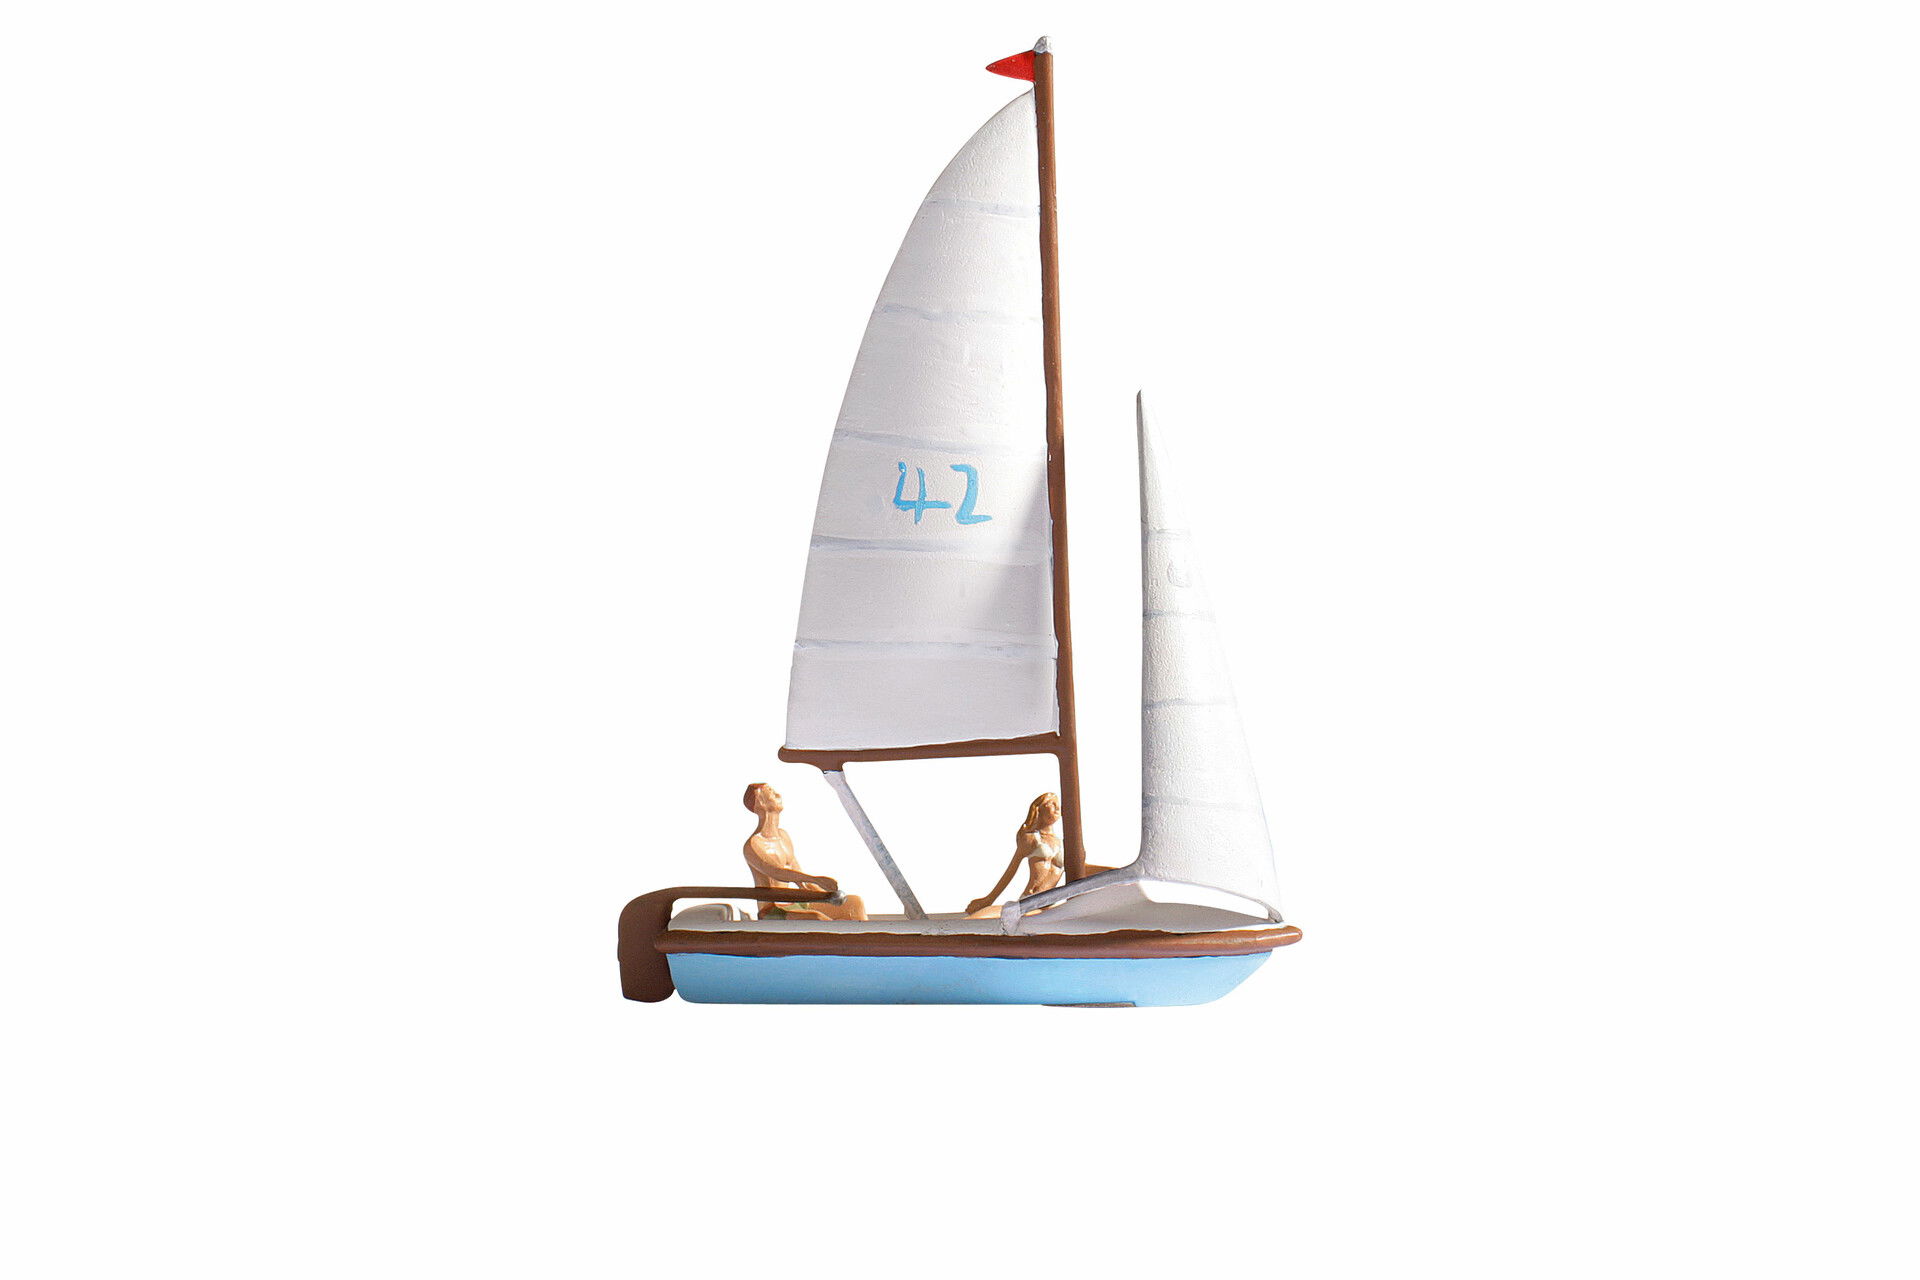
Mini sailboat
Temporary glue
Hair dryer
Water-Drops® "easy
Acrylic colours blue and white
Brush
Shells
Mini sailboat
Temporary glue
Hair dryer
01
1) Sturdy base made of "water"
For your nautical pen holder, you first need to get yourself a nice little glass bottle. This will later be the guide into which your pen can be inserted. It is important that it is made of glass or another heat-resistant material and that it is inserted at an angle into the base so that the pen cannot slip out.
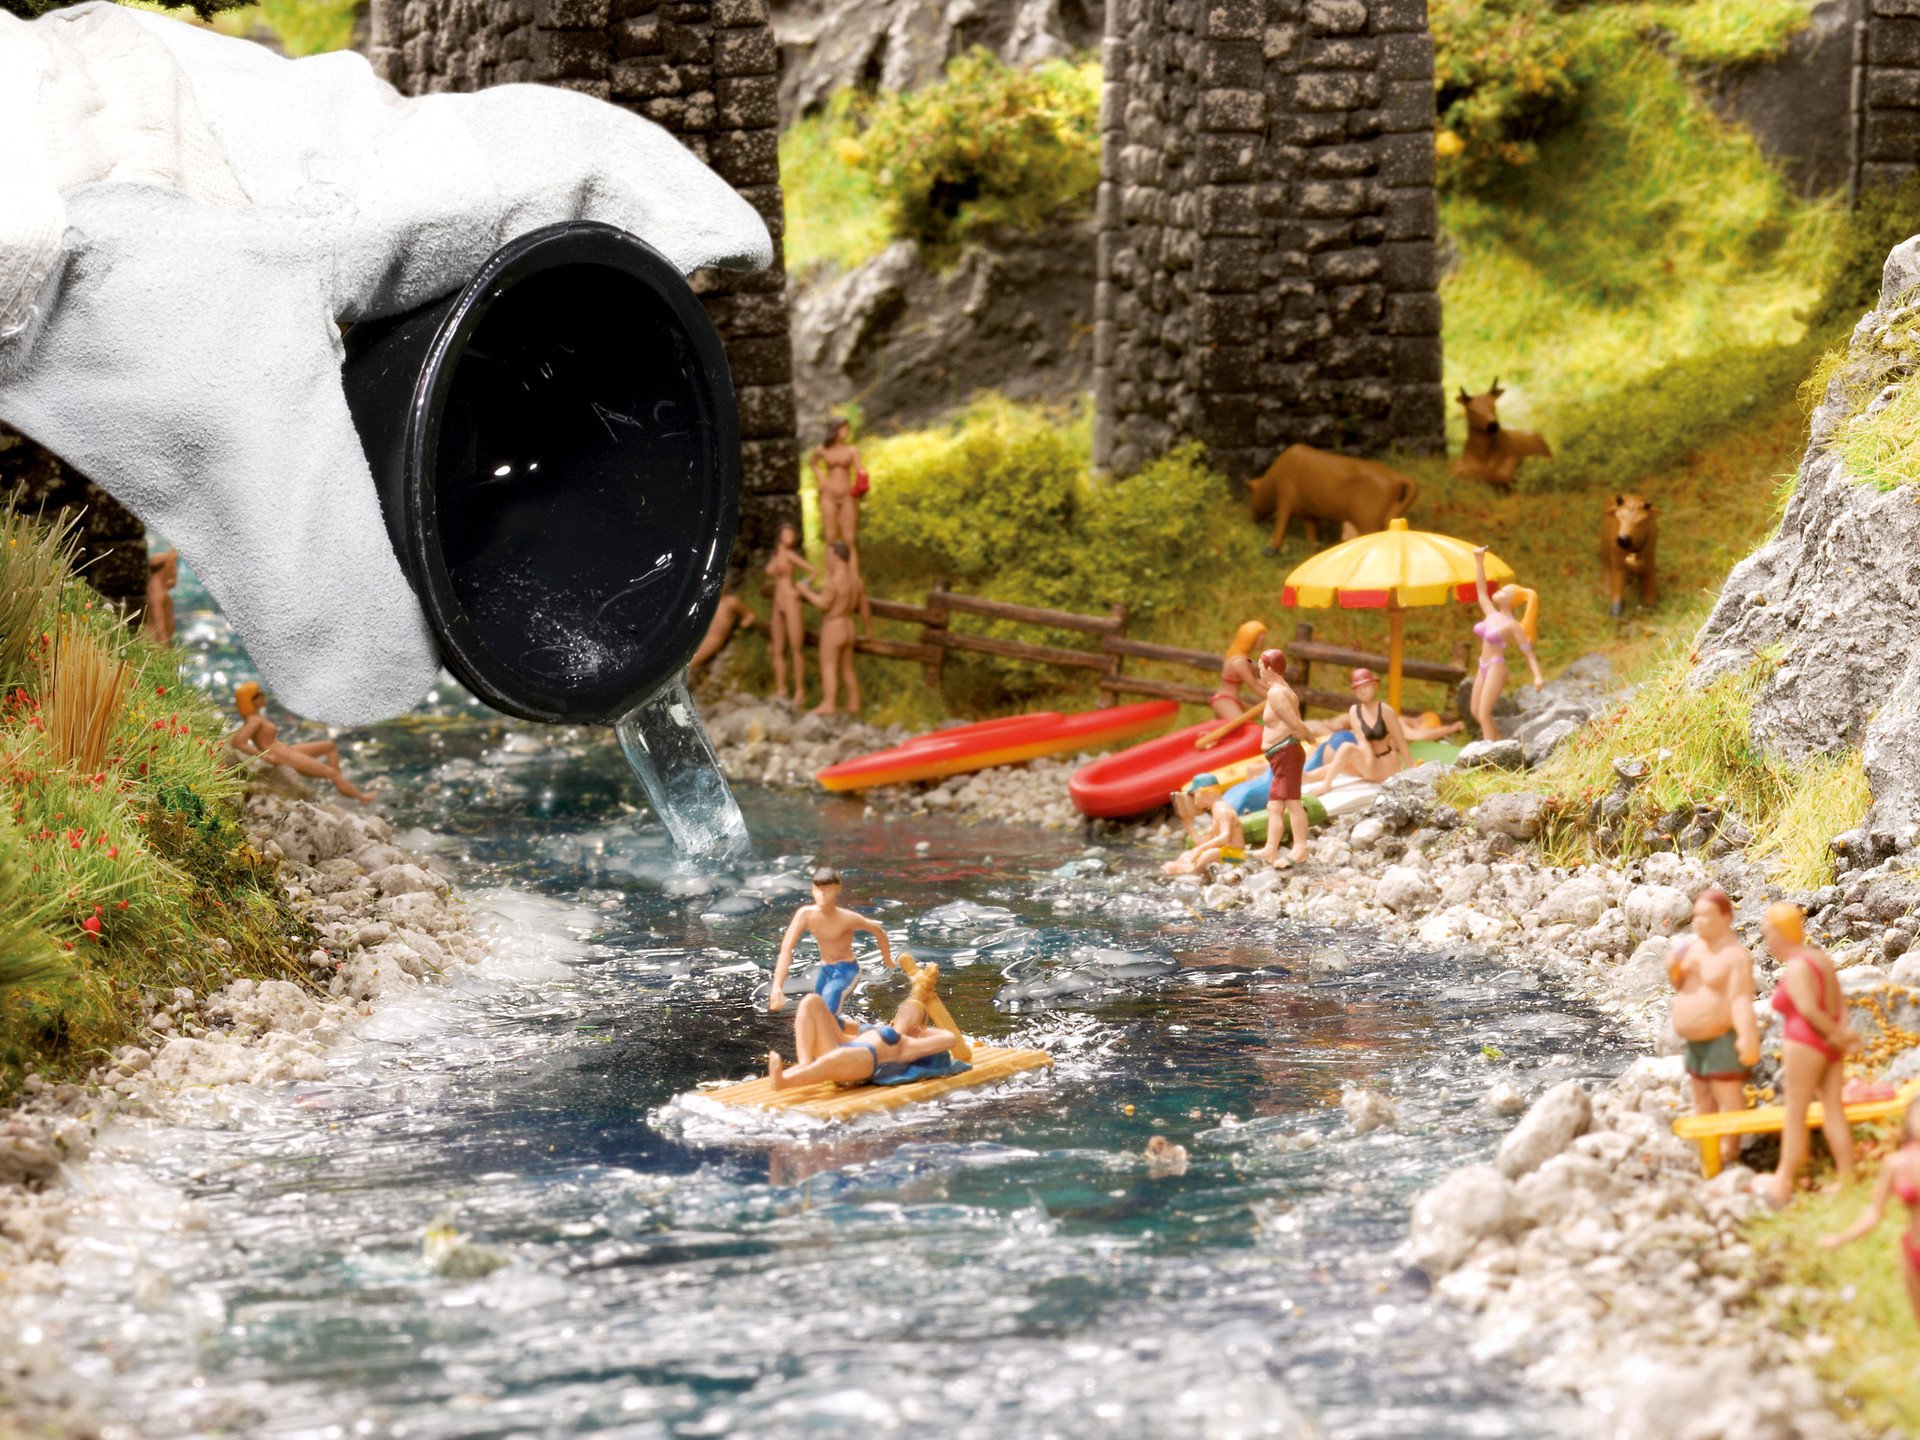
Now let the Water-Drops® "easy" melt in the oven at 150°C for about 1 hour. In the meantime, fill the small glass bottle with something to weigh it down, e.g. beads, rice or sand (it is important that this material is also heat-resistant!) The weight ensures that the pen holder does not "float" out of the Water-Drops® "easy" mass.
Now place the bottle in the rectangular silicone mould. Then carefully pour the Water-Drops® "easy" into the mould and leave it in a cool place to cool down and harden.
Attention: Water-Drops® "easy" are processed hot at approx. 150°C. Danger of burns! Please use gloves. Be sure to read the instructions before use!
02
2) Let it flow!
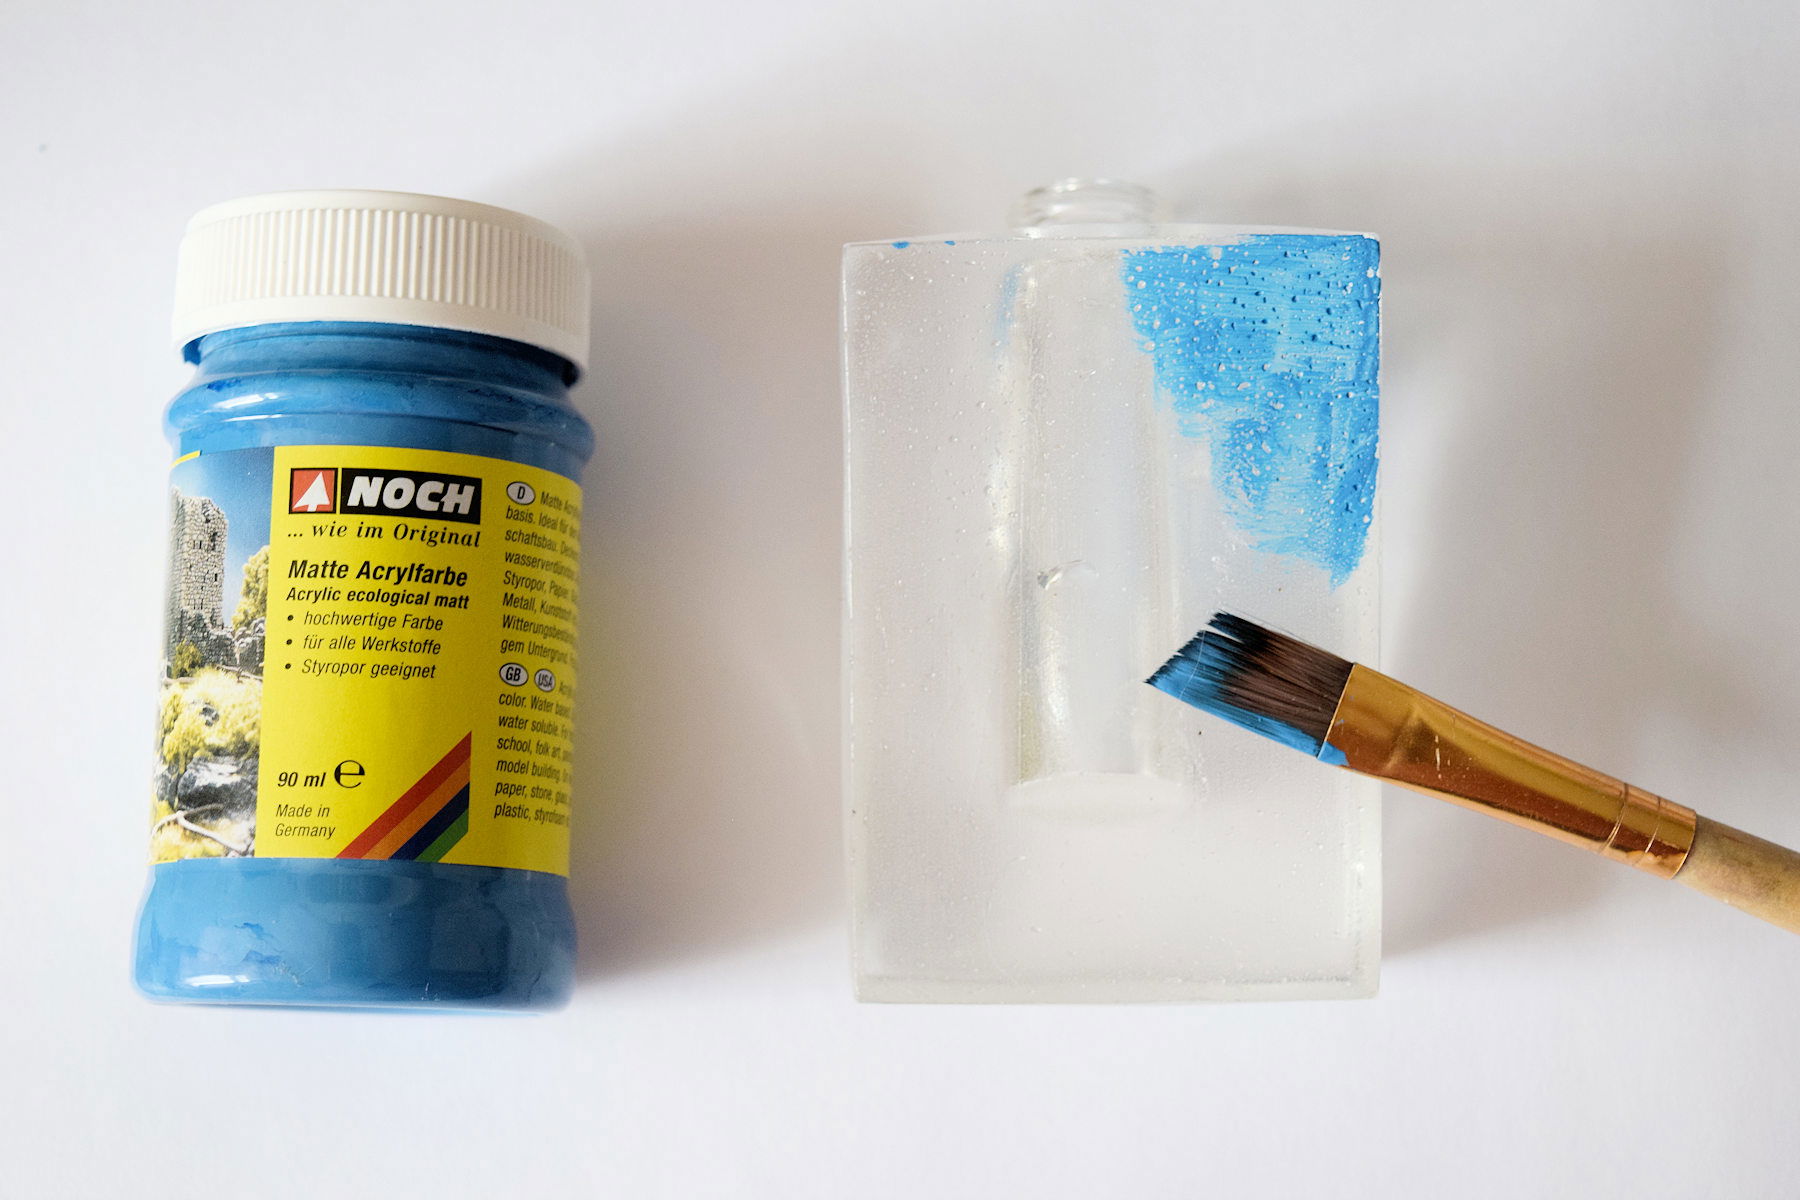
To enhance the effect of water, paint the underside of your pen holder with the blue acrylic paint. You can also heat the surface again with a hairdryer to create slight waves. Add some structure with white acrylic paint and an almost dry brush.
03
3) It's even more beautiful with decoration!
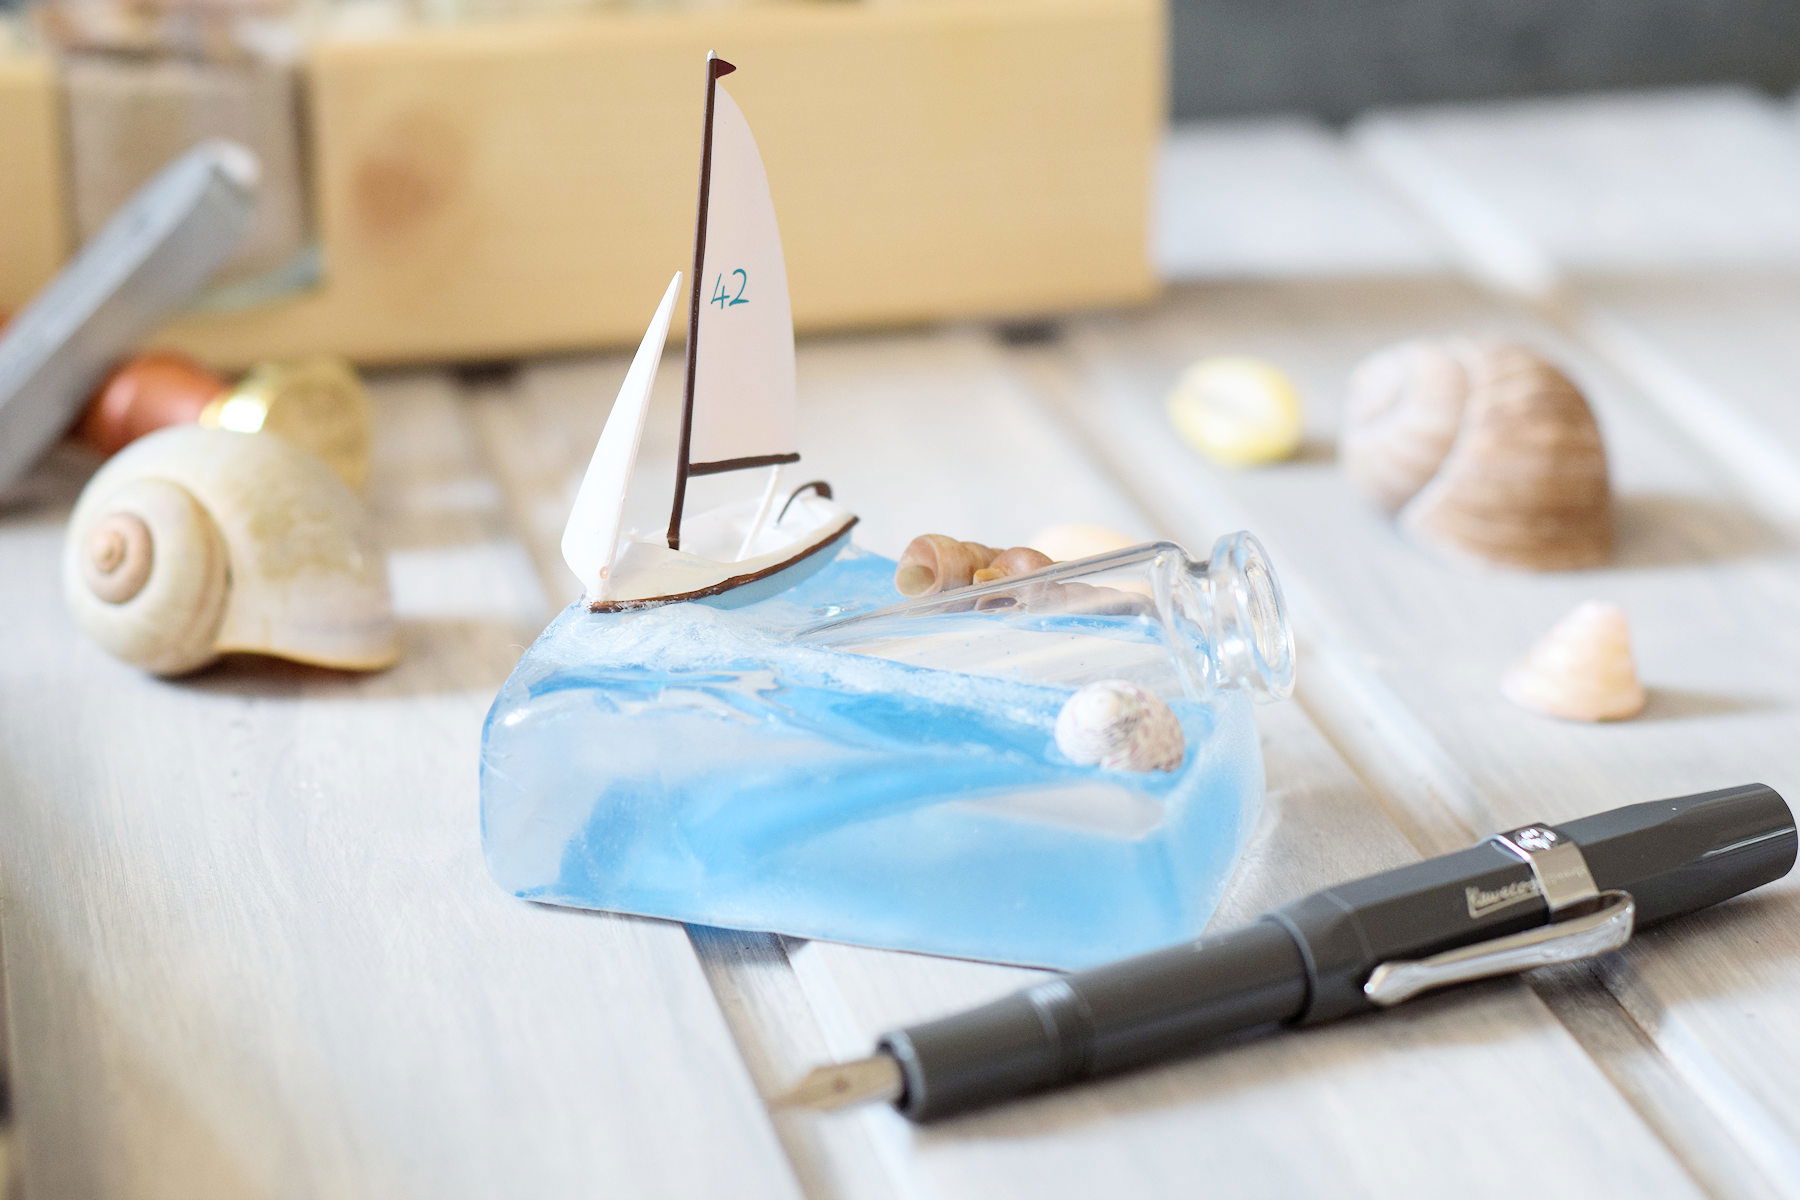
Now you can decorate your nautical pen holder as you like. I chose a sailboat and a few shells. You can even redecorate with the Temporary glue, as the objects can be removed again with this glue. However, I let my boat really sink into the mass. To do this, I heated up my pen holder again with a hairdryer.
Your crafted results

I hope you enjoyed making it. The summery decorated pen holder would also make a great gift, e.g. for hobby writers in your circle of friends. If you're in the mood for more great DIYs, feel free to visit me on my blog dailydreamery.de! I look forward to seeing you!
Greetings,
Anke

