Craft Monochrome-Style Black & White Easter Eggs
Easter decoration for monochrome home interior styling!
Easter eggs decorate your home at Easter time. Moni and Steffi from Decorize have designed monochrome Easter eggs in line with the black and white look that is currently bang on trend and show you how to flock fluffy Easter eggs.
Step-by-step instruction
Instructions from Steffie & Moni from decorize
You need that
- Black Acrylic Paint
- Decorative Easter Eggs Craft Kit "Monochrome Style, Black & White" or plastic eggs
- White Fluffy Flakes (e.g. "Snowflakes")
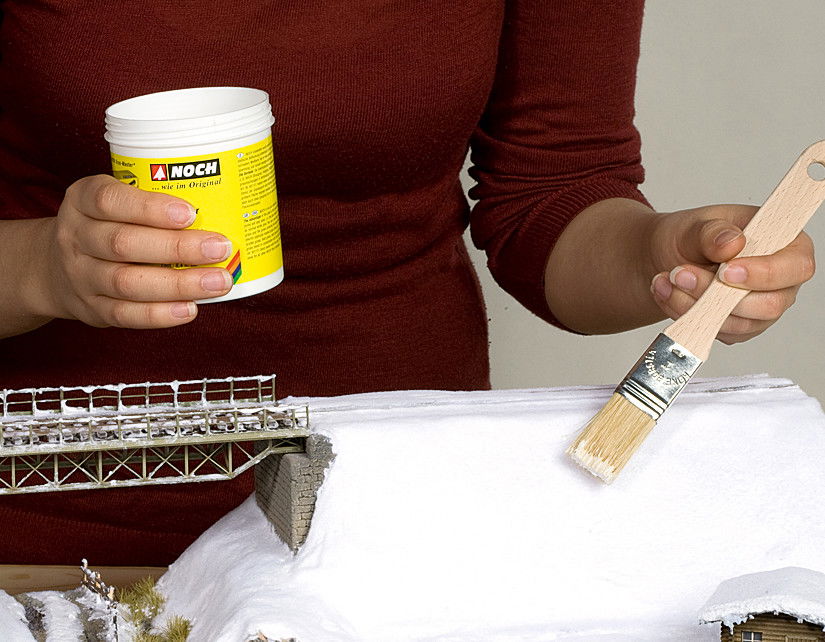
- Grass Glue
- Puffer Bottle
- Paint marker pen (e.g. from edding®)
- A plastic box
- Kebab skewers
- Bows & scissors
- Toothpicks & yarn
- A beautiful bowl, vase and fresh branches


The black and white look, also known as "monochrome
style", is very trendy in interior design! Much of our home is also furnished
in black and white, supplemented by furniture in muted light grey tones. So,
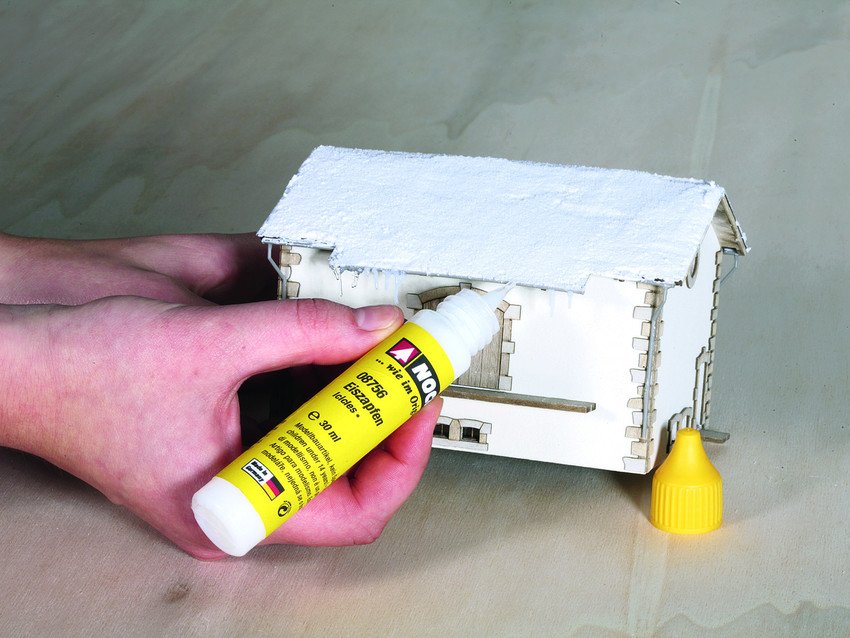
our Easter decoration should match. The white Fluffy Flakes, which are actually
used as snowflakes for miniature model landscapes, are ideal. It doesn’t matter,
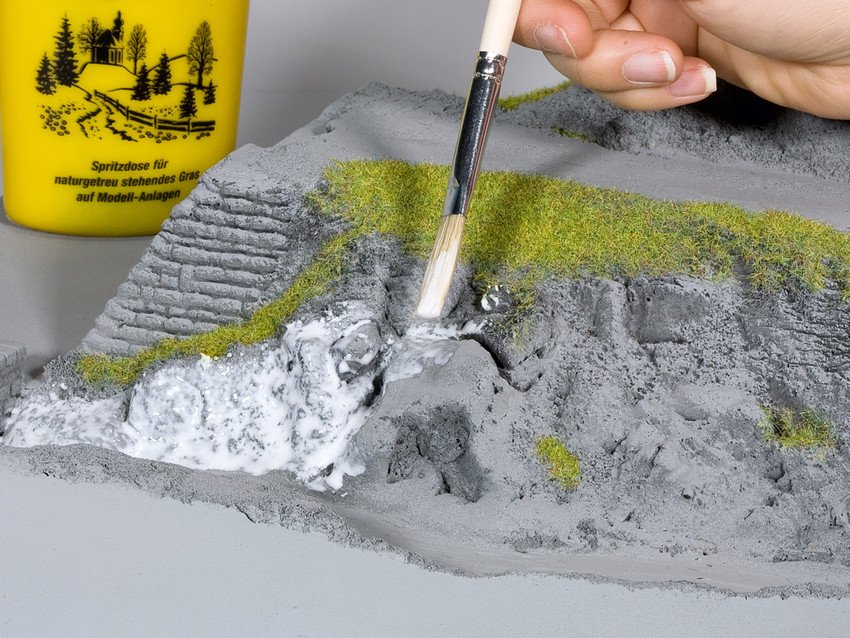
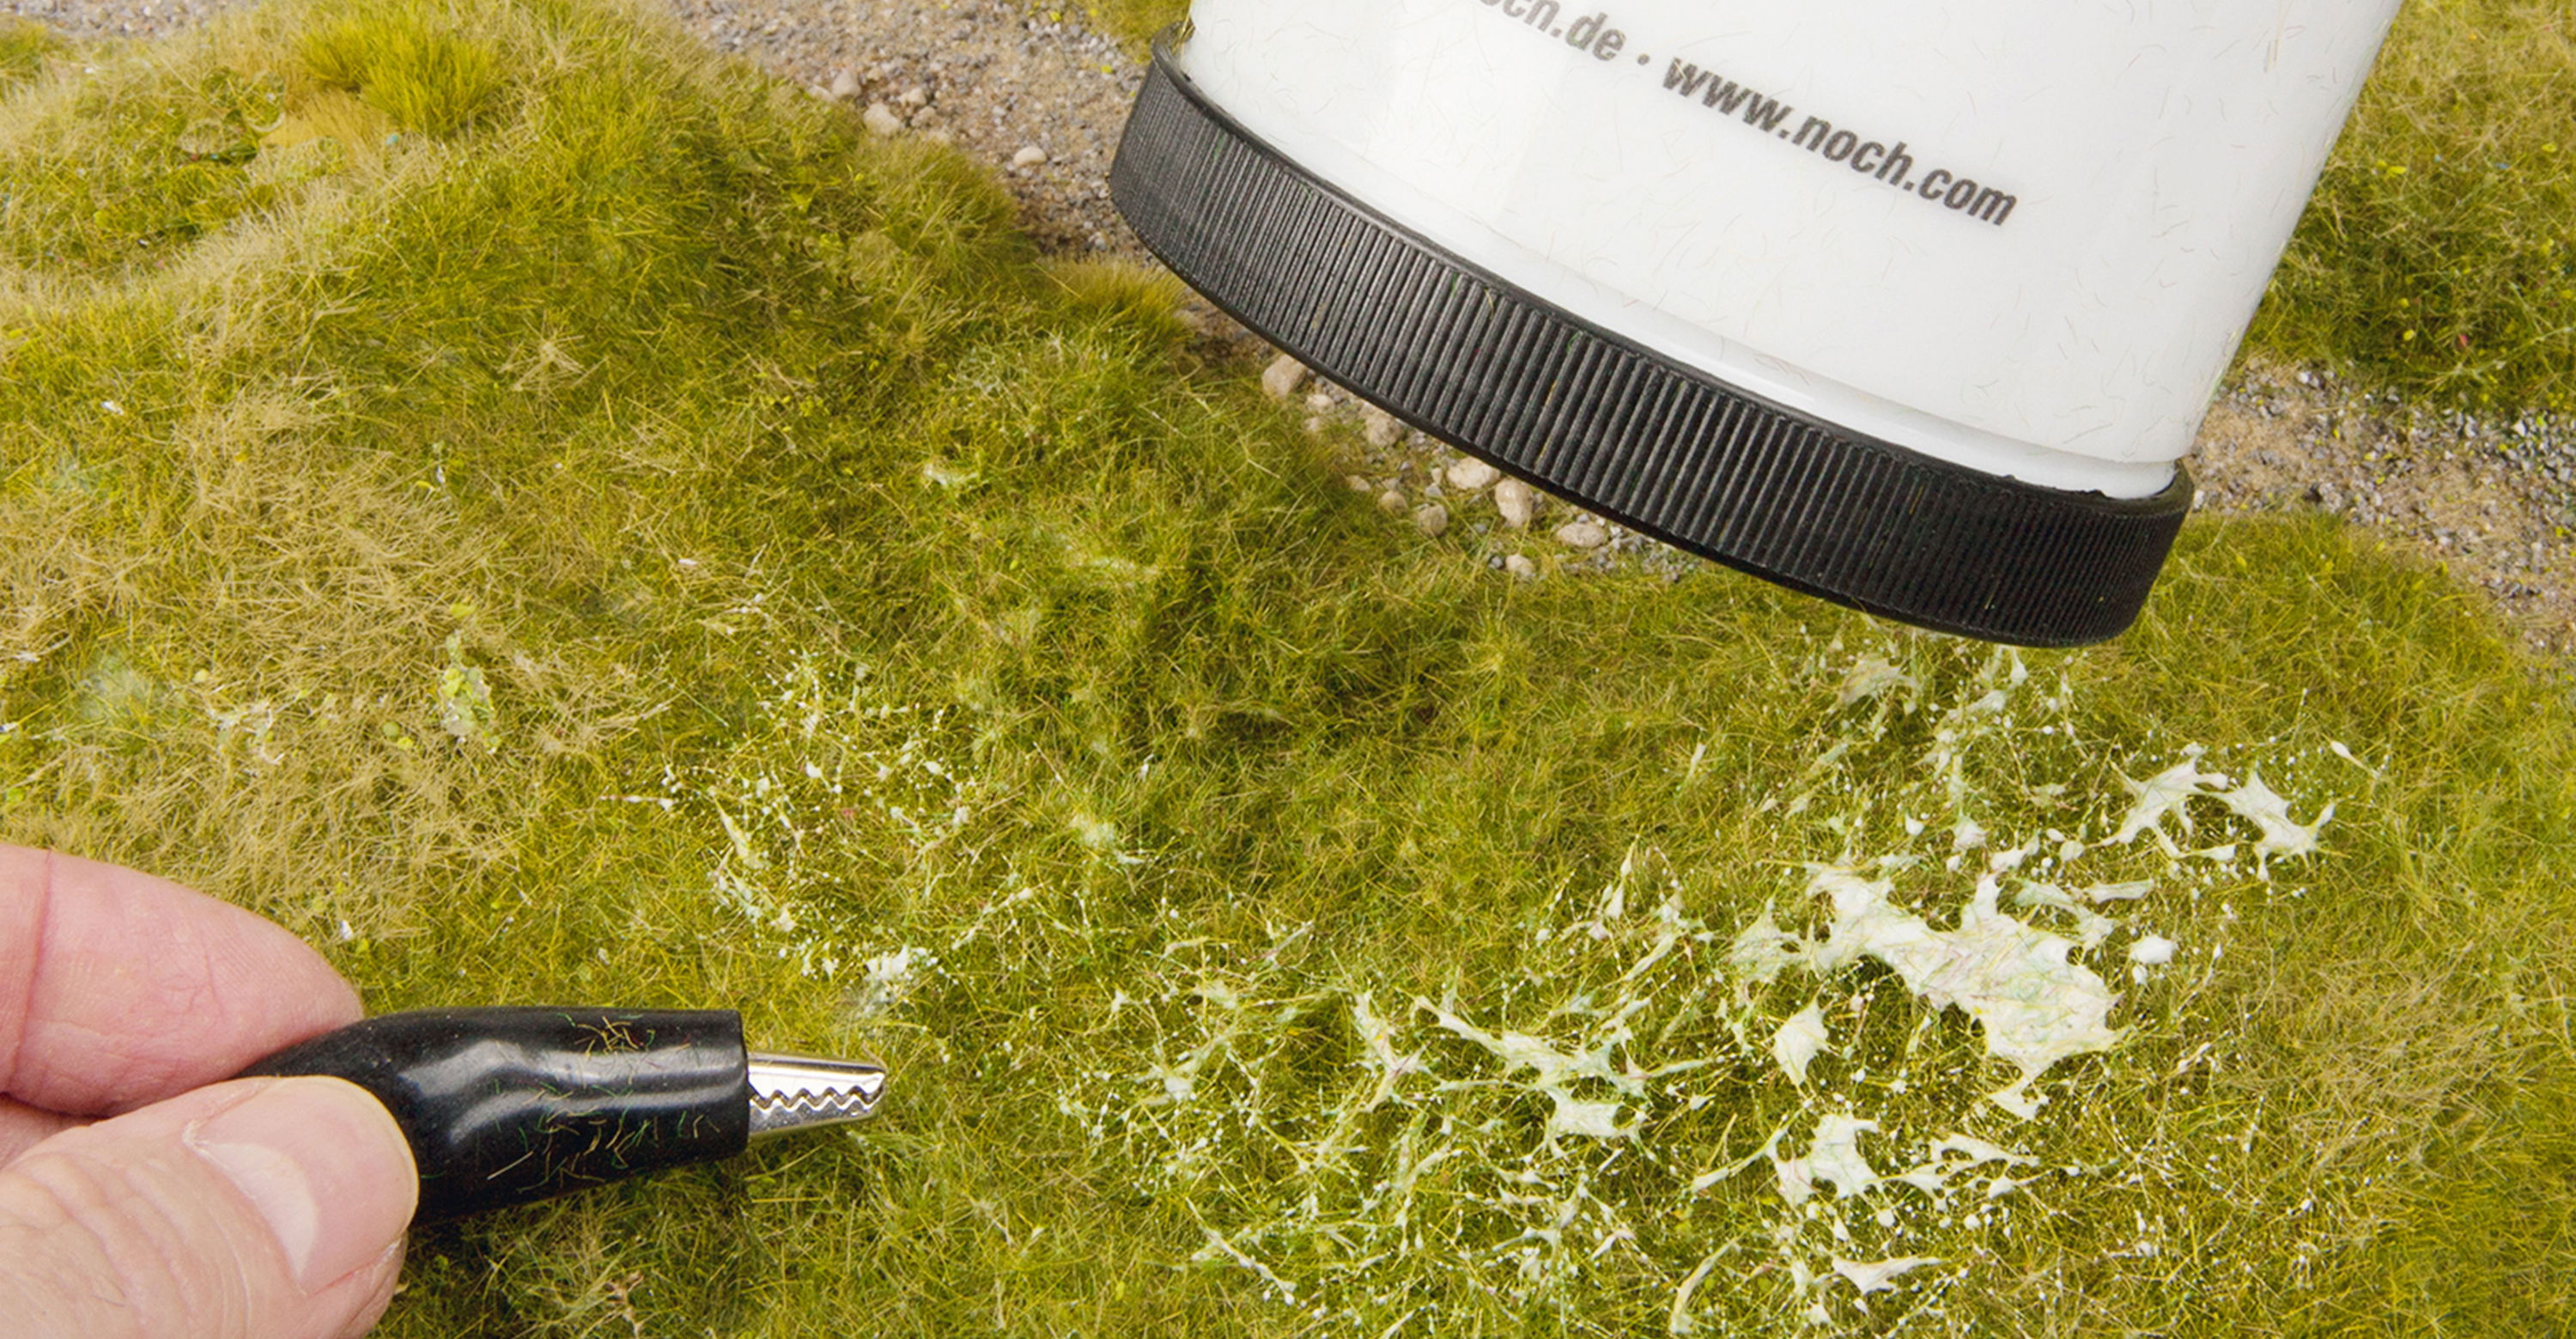
though, because we misappropriate them here! The Puffer Bottle is first filled
up to about halfway with Fluffy Flakes. Then we get to the egg: first, we put
it on a wooden stick (e.g. a kebab skewer). This allows you to easily coat it
with Grass Glue afterwards. The Puffer Bottle must be shaken vigorously to
electrostatically charge the fibres. By squeezing the Puffer Bottle, you "blow" the white fibres on the egg. Due to the electrostatic charge, the small 1.5
mm-long fibres stick out vertically from the surface of the egg, giving it a
velvety, fluffy surface.
Tip: it’s best to place a plastic box underneath the
egg so that you can catch any excess fibres and reuse them.


Allow the flocked eggs to dry, ideally for approx. 2–3 hours. If you continued immediately, you would press the fibres flat; it’s therefore important that the glue dries so the eggs remain nice and fluffy later. While the white eggs are drying, you can paint the remaining plastic eggs with Black Acrylic Paint. Beforehand, we split the Easter eggs equally to ensure the right balance between black and white! Small tip: the plastic eggs are provided with a release agent during production, which can cause the paint to crack when spread. There are two solutions for this: either you bathe the Easter eggs in soapy water before painting and then dry them off again, or you grab a very fine piece of sandpaper from the DIY store and carefully sand over the plastic surface. Or there’s the brutal way – the more the better! Simply paint over two or three times after the first layers of paint have dried. It helps to have a wooden stick in the egg again, as this allows you to hold on to it and paint unhurriedly.


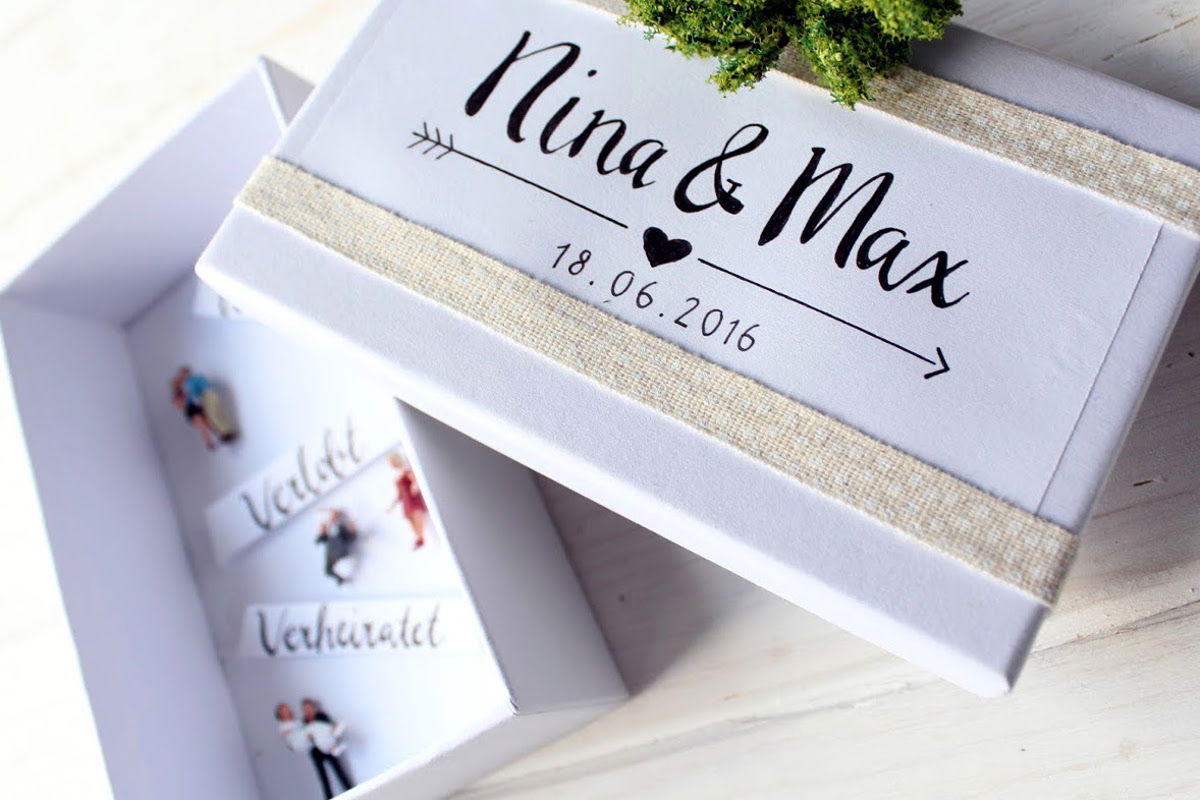
After your white Easter eggs have dried, you can decorate them with dots, lines and patterns to your heart’s content using a black paint marker (e.g. from edding®). If you leave the wooden stick in the Easter egg, then you can hold it more easily when painting and decorating. We decorate the black Easter eggs with white bows and ribbons. So that the ribbon doesn’t slip off the egg, we fixed it at the back with double-sided sticky tape. If you don’t have any adhesive tape to hand, a drop of glue from the glue gun works. Pull the ribbon to the front and tie a nice bow. Just the Easter egg ornaments are missing now. To craft these, cut a piece of thread or yarn to the desired length, double it, and tie it around a toothpick that you shortened beforehand. Insert the hanger through the hole in the egg until it’s all the way in and jack-knifes when you pull it back.
This monochrome Easter decoration in black and white will be perfect if you can find a matching bowl and a beautiful vase! We found a black and white striped vase and put in a few fresh branches. Willow or corkscrew hazel branches are ideal, as these often begin to bud at Easter. We decorated the eggs that didn’t fit on the small Easter bush in a matching bowl. Our home is now styled perfectly for Easter!
Your crafted results

Best wishes,
Steffi & Moni

Featured products
Shopping List


More creative inspiration
Explore similar Crafting-Tips

We hope you have fun decorating and wish you a happy Easter!